


What is Augmented Reality (AR)?
Augmented Reality (AR) is directly or indirectly showing computer generated sensory inputs such as sounds, video, graphics or GPS data in real environment or physical world.
Now AR field is becoming more popular and advance day by day. So it is a good idea to dive into this field so eventually you'll be able to become great using this future technology.
In this blog post I'm going to give you step by step instructions on how to create an Augmented Reality app Using a SDK called Vuforia and Unity3D application.
So for this tutorial you need the bellow things downloaded and installed in your computer,
Unity3D - Download and install Unity3D personal edition from here
Vuforia SDK - Download vuforia sdk for unity from here.

After downloading and Installing above software and the sdk you are ready to make the augmented reality app.
Follow the bellow step by step instructions
1. go to developer.vuforia.com and login to your vuforia account. If you don't already have one create an account.

2. now go to Develop > License Manager and then click on Add License Key

3. then in Project Type Choose Development - my app is in development and then in Project Details give and App Name and choose Device and then License Key. after that click next.


4. then confirm the license key and click on confirm


6. then copy the license key


9. click on the name of the database and click on add target

after that give the width of the image that you are tracking. the length of the image will generate automatically. then give a name to that image and then click on add button.


12. Now open up the unity editor and then log into your unity account. if you don't already have one then go and create one. if you are opening the unity editor for the first time then you will be wanted to go through some simple process to open up the editor.

13 then click on new and then give a project name and the location and organization and then click on create project button.


14.after opening up the project window you will find a window like below there you can find the hierarchy window and project window and the inspector window as bellow

again do the same right click on assets then import package > custom package and then choose the database that you created and downloaded before and import it.
after that delete the main Camera which is there when you created the project to do that right click one Main Camera and hit delete.
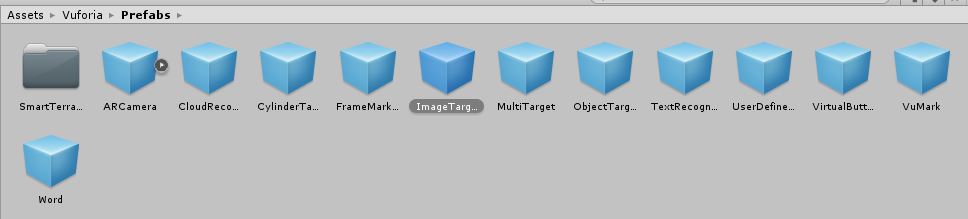
Then got to Assets > Vuforia > Prefab folder. There you'll be able to find ARCamera. drag and drop it into the Scene window. And go to the Inspector window and edit the x,y,z Position coordinates to 0.


Again drag and drop the ImageTarget from the Assets window to the Scene under the ARCamera. Then Search and import Red Samurai from the Assets Store. Then Go to Assets > Prefab then drag and drop the samurai 3d model to the Scene make it be under ImageTarget.


Then click on the ARCamera from the Hierarchy window and then add the License key and edit the Inspector settings as below image

Then click on the ImageTarget and edit the Inspector settings as below image

Then click on the samurai from the Hierarchy window and edit the Inspector settings as below.

Then Click on the play button and the web cam will be open up. the hold the image target in front of the camera and you can see the output product as below.

So now you have your very own Augmented reality app. So this is all for this tutorial more will be added to the site later on so stay touch with the us.
If you have any questions feel free to comment them below and share this article with others and also don't forget to like out facebook page.


0 Comments